Leather Repair Glue
Leather Repair Glue Kit. The best glue for LeatherComes with all the right products and tools to make professional repairs to all leather items.
The strongest bond for any leather tear repair ever.
Product Details
• Extremely Flexible
• Can Be Over Painted
• Strong Leather Glue
FOR LEATHER SUITES, VEHICLES, CLOTHING, SHOES, AND ITEMS AROUND THE HOME.
Also works perfectly on Aniline Leather
Repair Tears, Rips, Cuts, Holes & Splits in all types of leather, Handbags, Jackets, Car Interiors, Camper Vans, Motorcycle Leathers and so much more
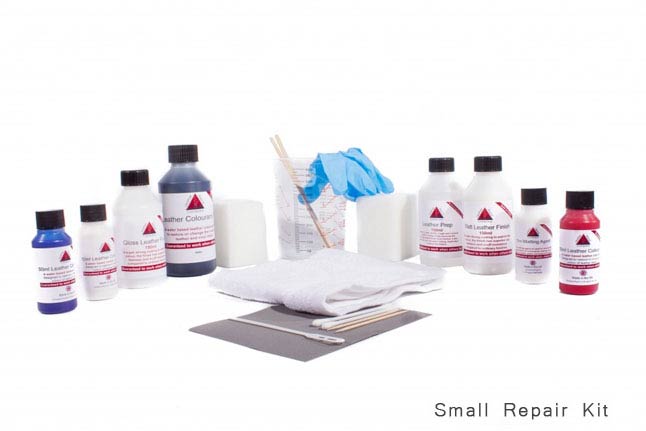
The Leather Glue Repair kit is a small kit containing all the products you need to make a professional repair to leather.
Repair cuts, holes, tears, rips and all other surface damage to leather. This kit only contains the products needed to repair the damage and not colour it.
As used by our technicians where the leather has been cut or torn all the way through. Unlike other leather glue ours is very clean and easy to use, dries clear and is extremely flexible and can be over painted which makes our leather glue very unique compared to others around today. The leather glue is water based and dries clear and can be quickly removed from the surface of the leather without any damage, if it’s over applied.
Never use “Super Glue” or similar on leather.
This leather glue is just for leather
• Can Be Over Painted
• Strong Leather Glue
FOR LEATHER SUITES, VEHICLES, CLOTHING, SHOES, AND ITEMS AROUND THE HOME.
Also works perfectly on Aniline Leather
Repair Tears, Rips, Cuts, Holes & Splits in all types of leather, Handbags, Jackets, Car Interiors, Camper Vans, Motorcycle Leathers and so much more
The Leather Glue Repair kit is a small kit containing all the products you need to make a professional repair to leather.
Repair cuts, holes, tears, rips and all other surface damage to leather. This kit only contains the products needed to repair the damage and not colour it.
As used by our technicians where the leather has been cut or torn all the way through. Unlike other leather glue ours is very clean and easy to use, dries clear and is extremely flexible and can be over painted which makes our leather glue very unique compared to others around today. The leather glue is water based and dries clear and can be quickly removed from the surface of the leather without any damage, if it’s over applied.
Never use “Super Glue” or similar on leather.
This leather glue is just for leather
The first step is to make sure you use the correct size sub patch for you tear or rip.
Using either the white or black sub patch, cut this to size so it’s about a cm bigger than the tear and rip.
Once you have done this, you need to get the sub patch in to the back of the tear / rip
Ensure its flat and smooth or you will end up with a lump in your leather item.
Once this is done you can then apply a small amount of glue to the back of the leather and then pull down one side so it sticks to the sub patch, once you have done this, you can then apply some more glue to the other side and ends.
As you pull the second side towards the first side make sure you join the tear together as close as possible, then apply with a tooth pick a line of glue down the tear / rip line
Once you have done this you can apply clear sellotape to the tear to join the line together closer, before doing this test the tape in a small area to ensure it does not take away some of the top surface colour as it can in some cases do this.
Then leave to dry for around 30 mins and very carefully remove the sellotape, going down the tear not across the tear or you could open it back up again.